|
|
     aHR0cDovL2ZyZWVzaGlwLmNvLmty aHR0cDovL2ZyZWVzaGlwLmNvLmty
- OSD 언어: 중국어 (간체),중국어 (번체),알바니아어,아랍어,AZERI,아일랜드,에스토니아,벨라루스어,불가리아어,아이슬란드어,POLISH,PERSIAN,불 텍스트 (네덜란드 남아프리카),덴마크어,독일,러시아어,French,필리핀어,핀란드어,Georgian,아이티 크리올,Korean,Dutch,갈리시아,카탈로니아어,체코어,크로아티아어,라틴,Latvian,Lithuanian,루마니아어,말티즈,말레이,마케도니아아,Norwegian,포르투갈어,Japanese,스웨덴어,세르비아어,Slovak,슬로베니아,스와힐리어,태국,Turkish,웨일스,우크라이나어,히브리어,그리스,스페인 바스크,Spanish,헝가리어,아르메니아,ITALIAN,Yiddish,힌디어,우르두어 인도,인도네시아,english,베트남어,RUSSIA
- 범위 토크: 2.0m-0.2m
- 소재 유형: ABS
- 모델명: NX
- 유형: 보이지 않는
- 브랜드 이름: ZJCGO
- 근원: CN (정품)
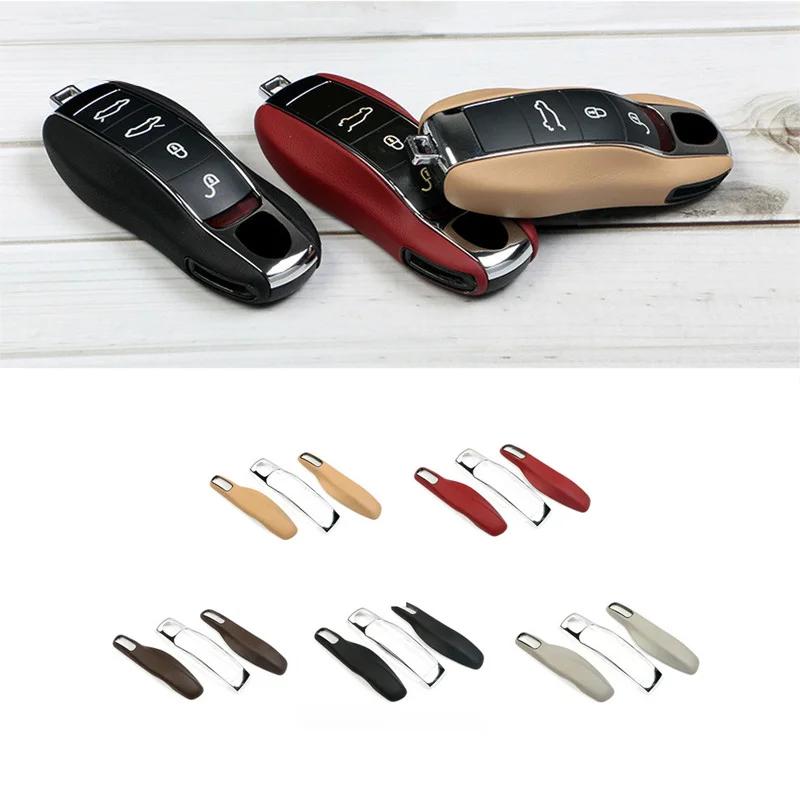
옵션정보[(193)Grey (8 pcs)] [(29)Yellow (8 pcs)] [(29)Yellow (8 pcs)] [(691)Blue (8 pcs)] [(691)Blue (8 pcs)] [(10)Red (8 pcs)] [(10)Red (8 pcs)] [(350852)Pearl White (8 pcs)] [(350852)Pearl White (8 pcs)] [(366)Black (8 pcs)] [(366)Black (8 pcs)] [(350853)Silver (8 pcs)] [(350853)Silver (8 pcs)]
13. Restore the wiring harness and detect the radar function
After receiving the radar, you can first test whether the radar is sensitive or not, it does not rule out that it will be damaged during transportation.
During the installation, the bumper can not be restored first, and it can be tested after being installed on the car.
When the bumper is restored, it can avoid repeated disassembly of the bumper.
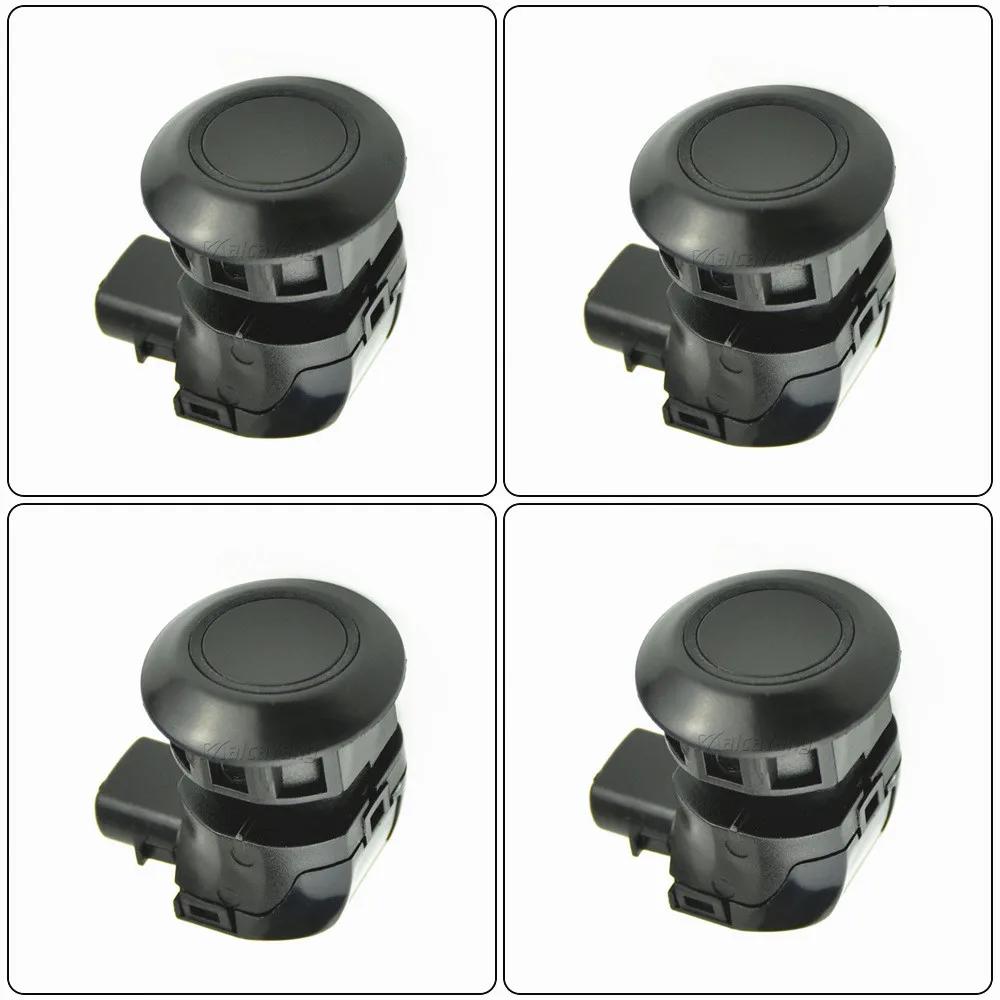
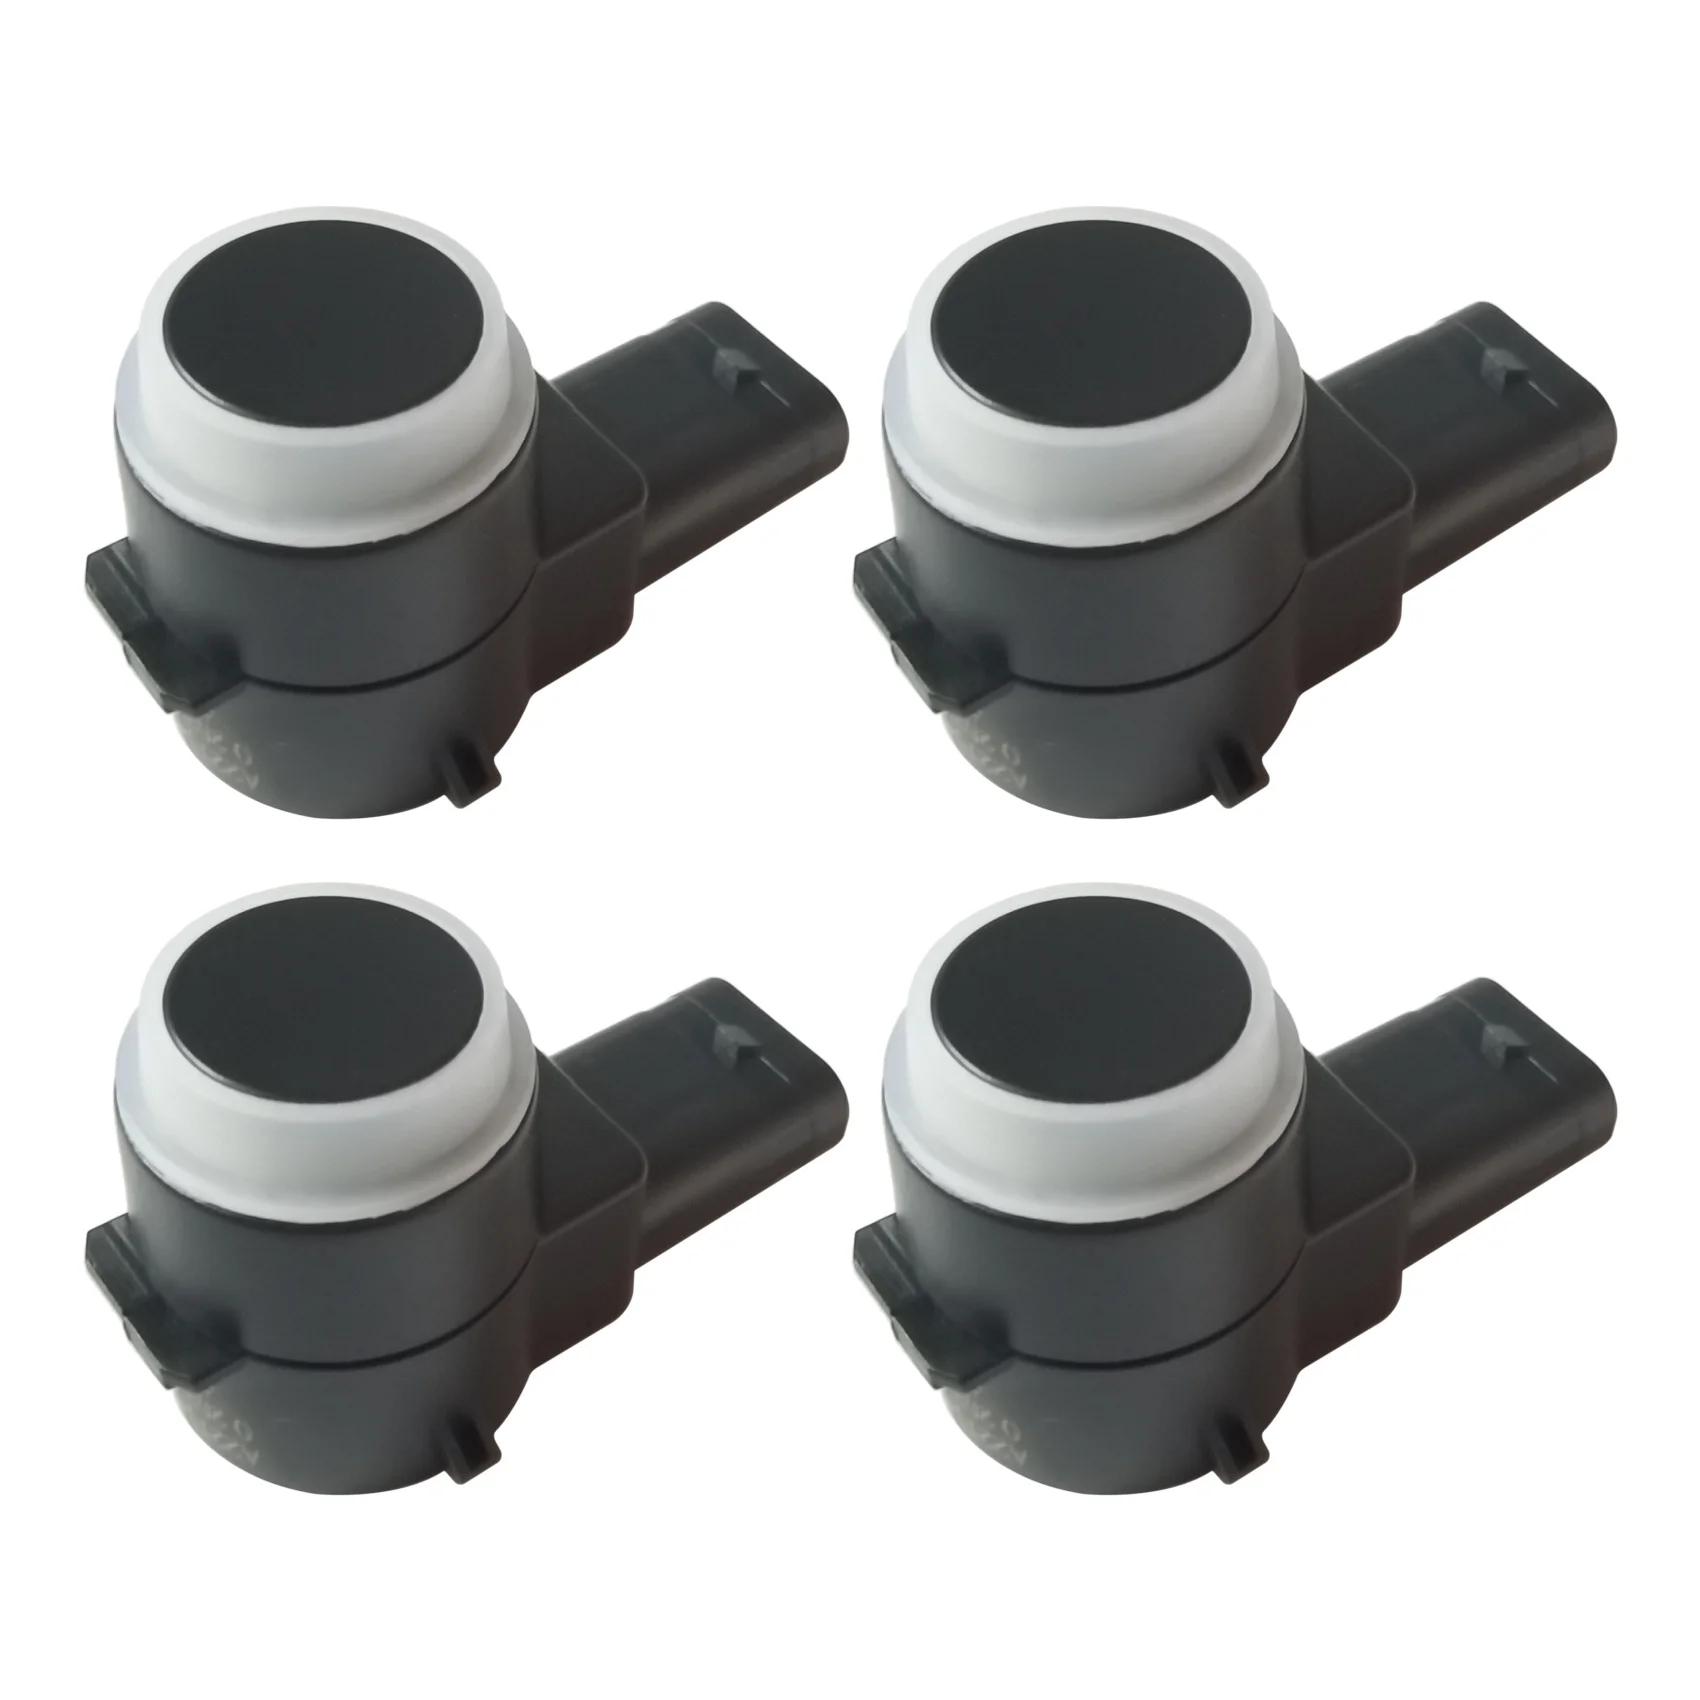
Such as 4 black and 4 white or 2 black and 6 white
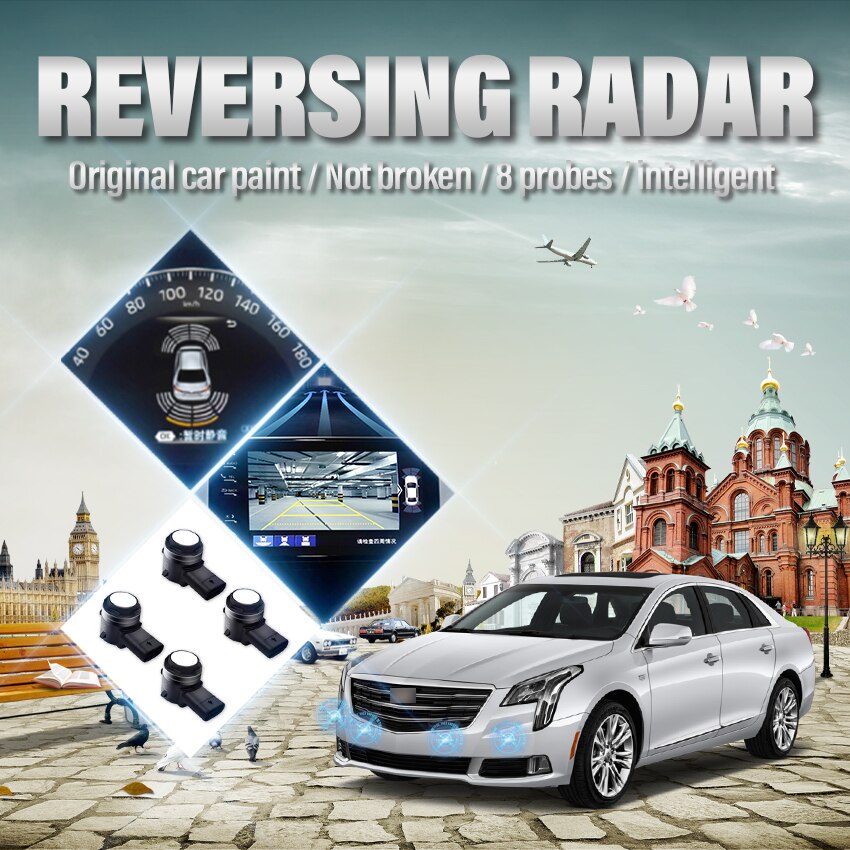
Applicable models:
for Lexus NX AZ10 200 300h 2015~2021
Note:
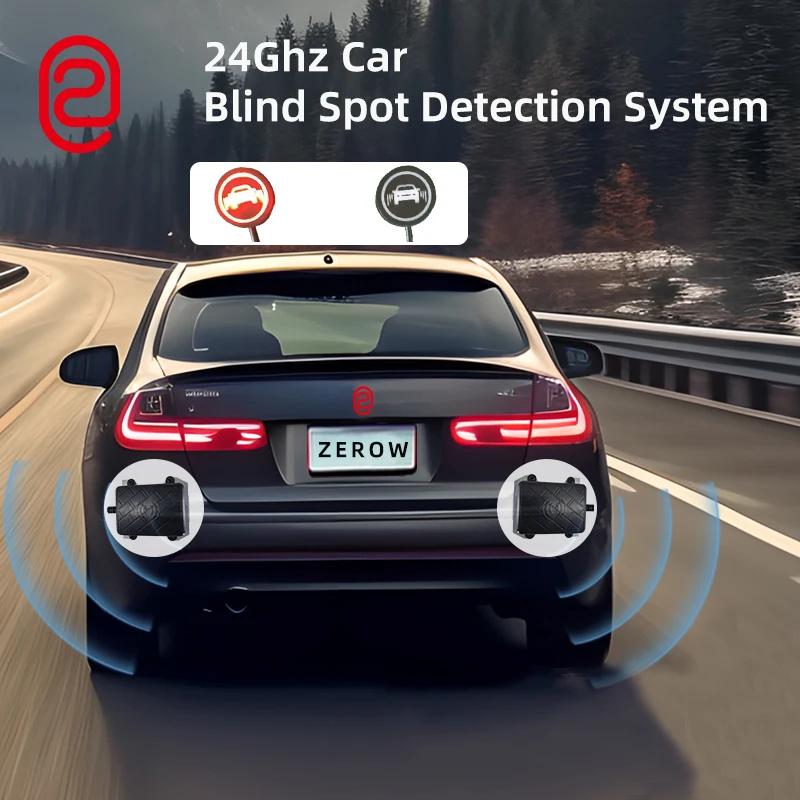
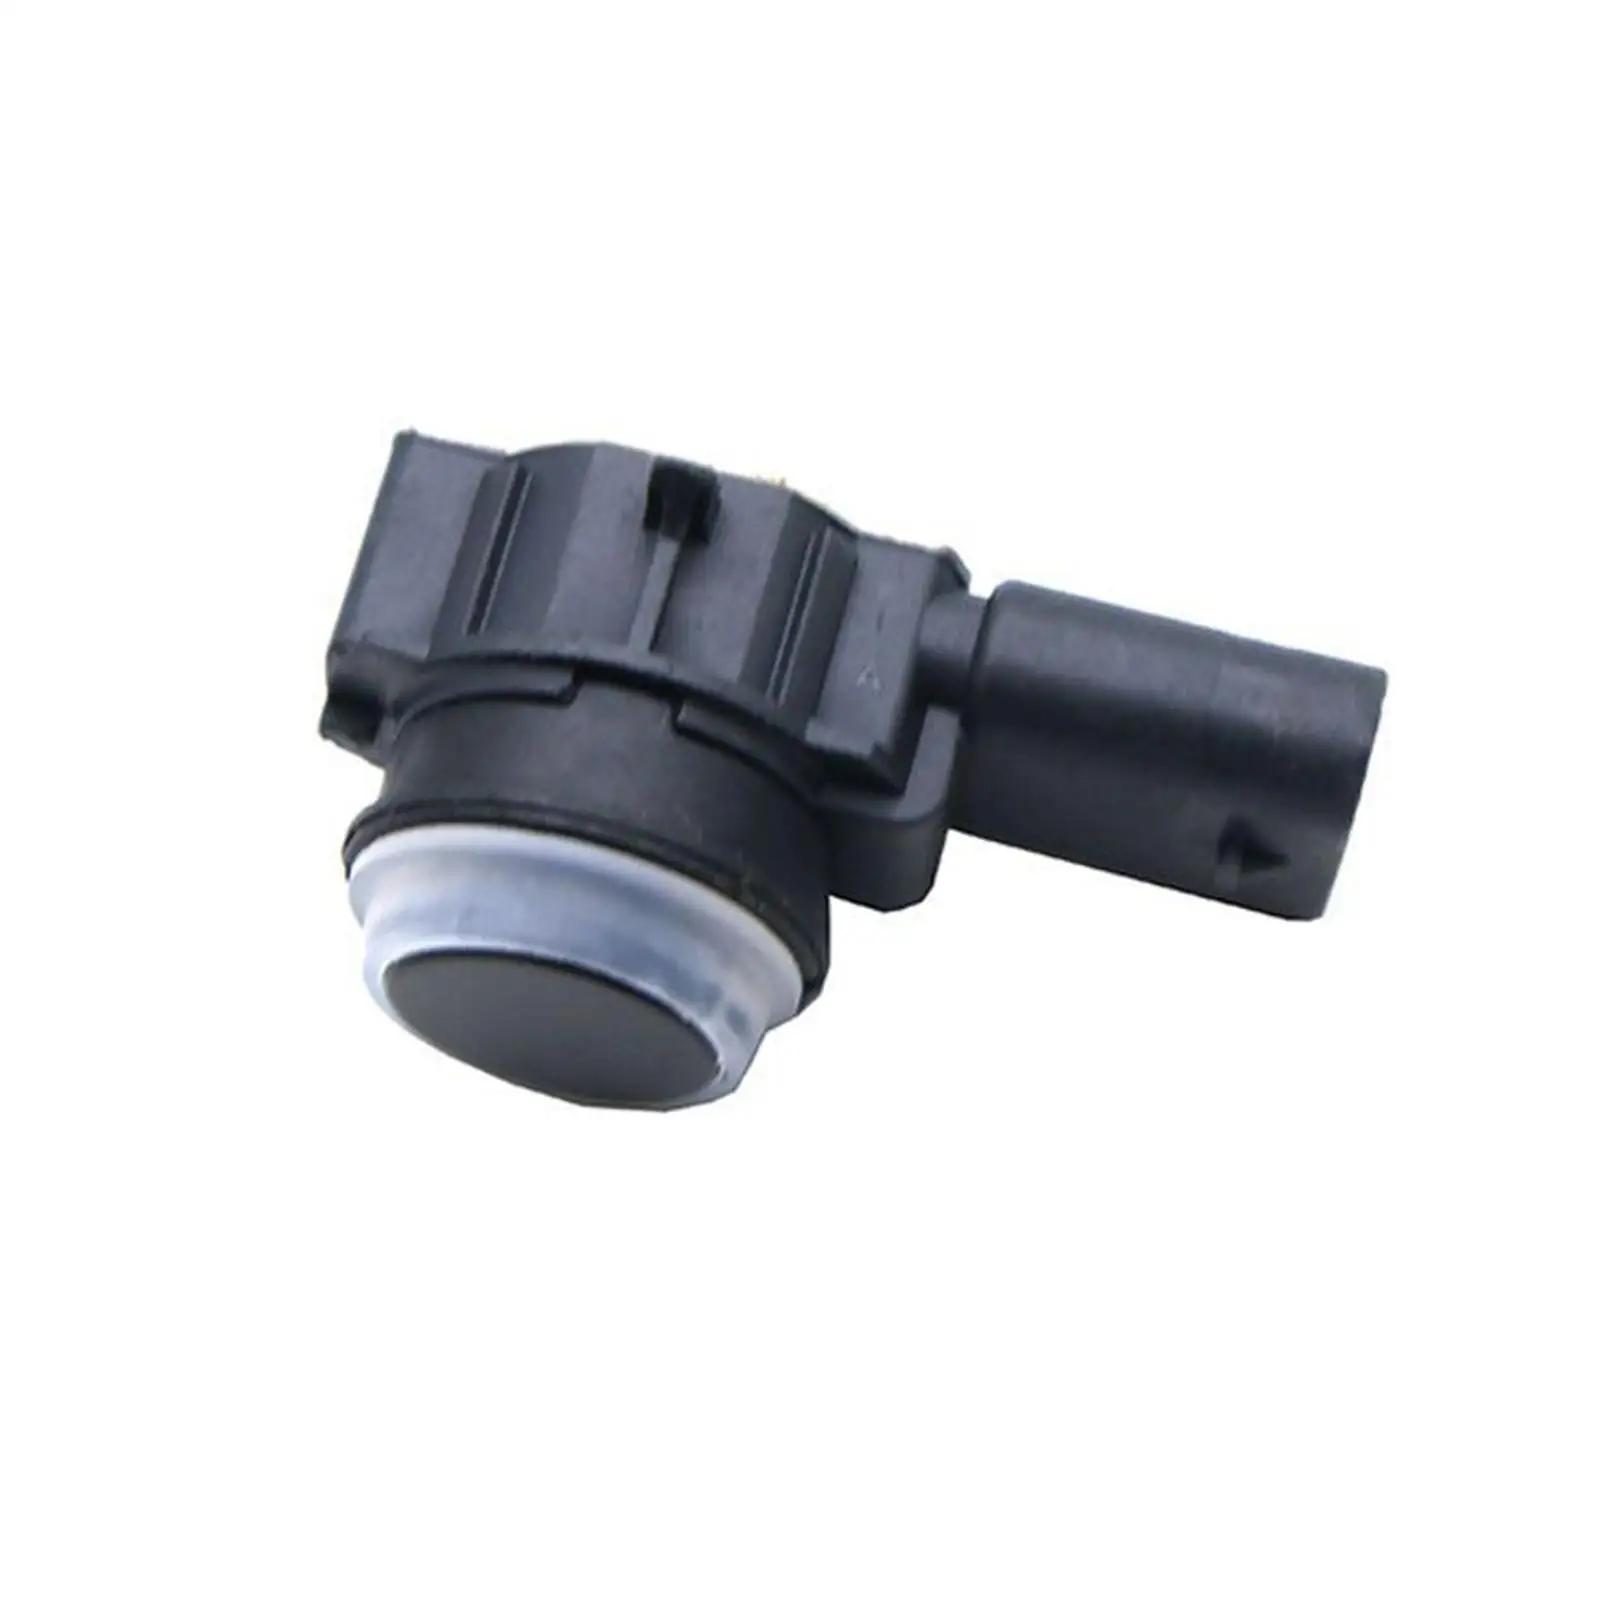
The main function of the reversing radar is to use the ultrasonic principle to send ultrasonic waves from the probe installed on the rear of the car or the bumper of the front of the car to reflect the sound wave probe when reversing, so as to calculate the actual distance between the car body and the obstacle.
Specification:
Function: Regional warning
After-sales service: one year
Alarm volume: 70dB (inclusive) -90dB (inclusive)
Working temperature range: -20℃-80℃
Test distance: 0.2m-0.8m
Display type: Original screen or original dashboard
Number of probes: 4/8
Voice function: visual reversing
Whether to disassemble the bumper: Yes
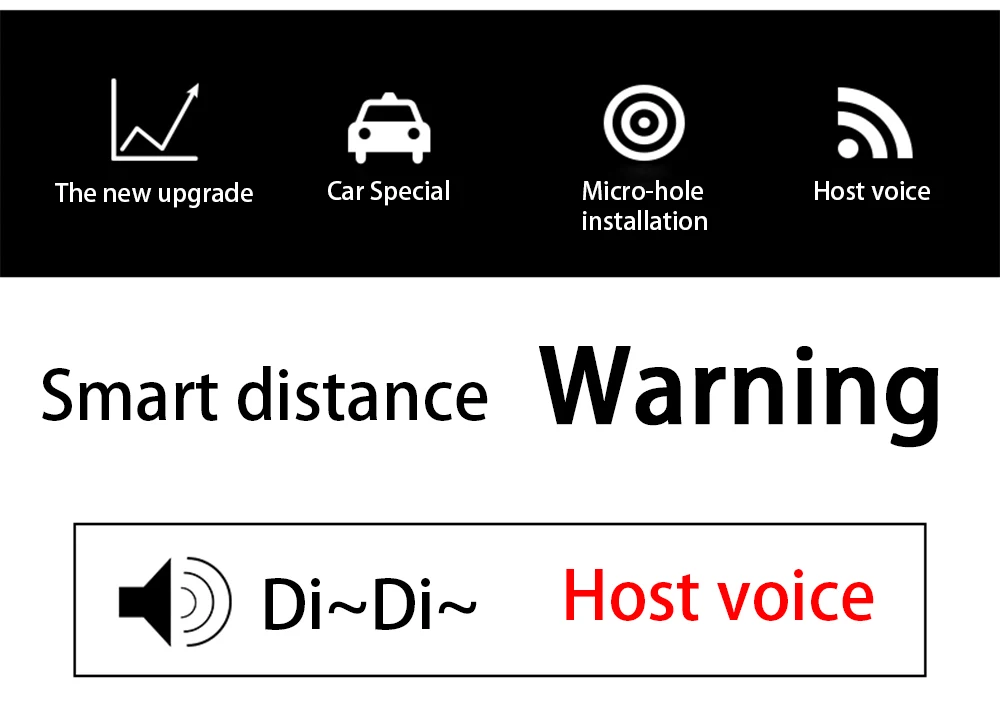
Host sound speaker reminder
When the car is close to an object, it will make a sound to remind you
The sound prompts that the darker the color, the closer the distance
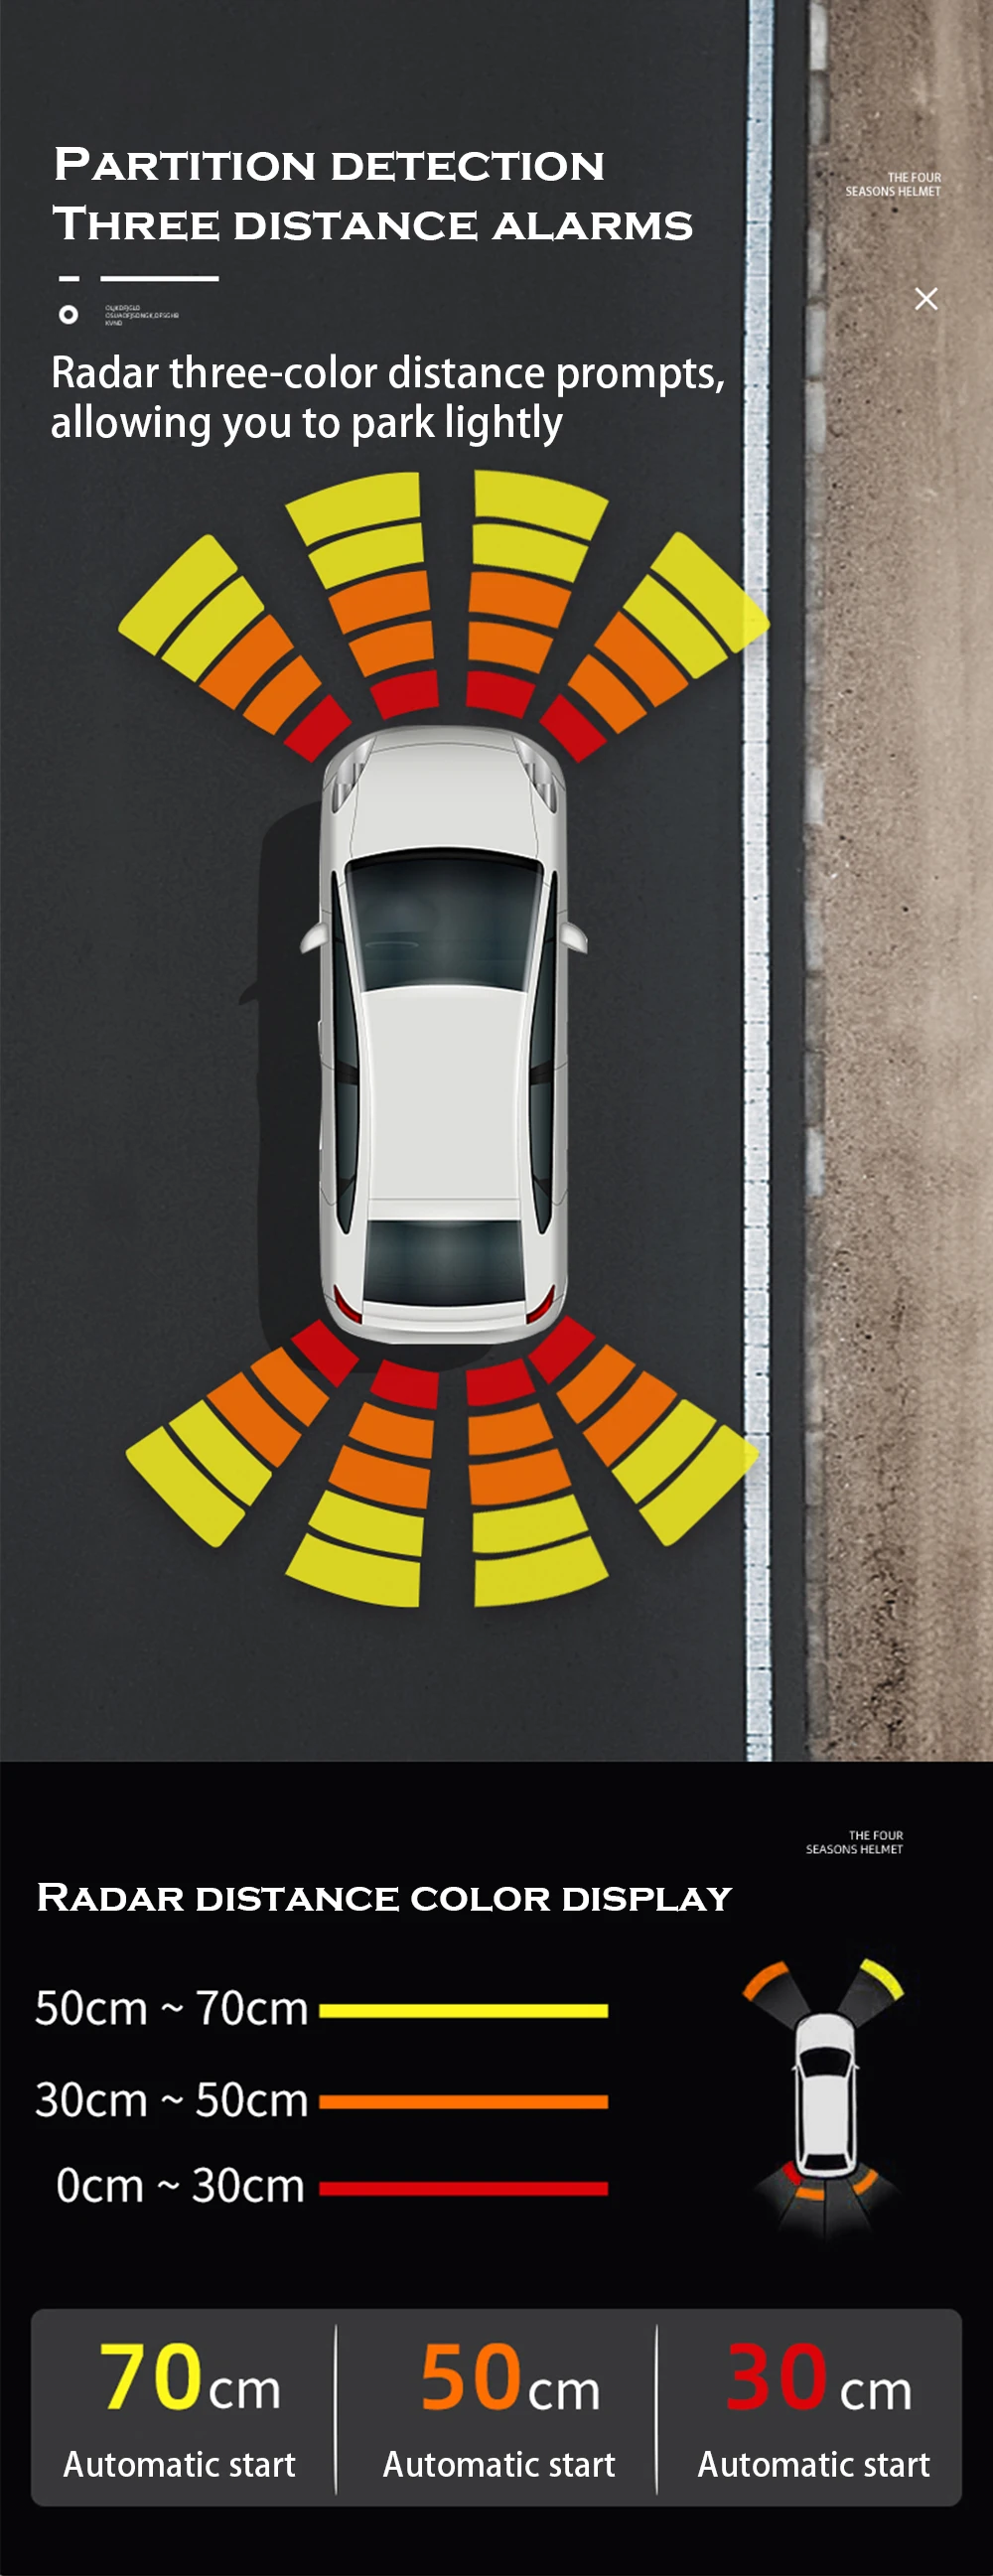
Object distance radar 50CM-30GM
Radar display yellow
Object distance radar 30CM-OCM
Radar shows red
Area detection digital radar
Radar detection is divided into three areas on the left, right and middle More detailed display of the obstacle position,70CM from the object enters yellow, 50CM enters orange, and 30CM enters red
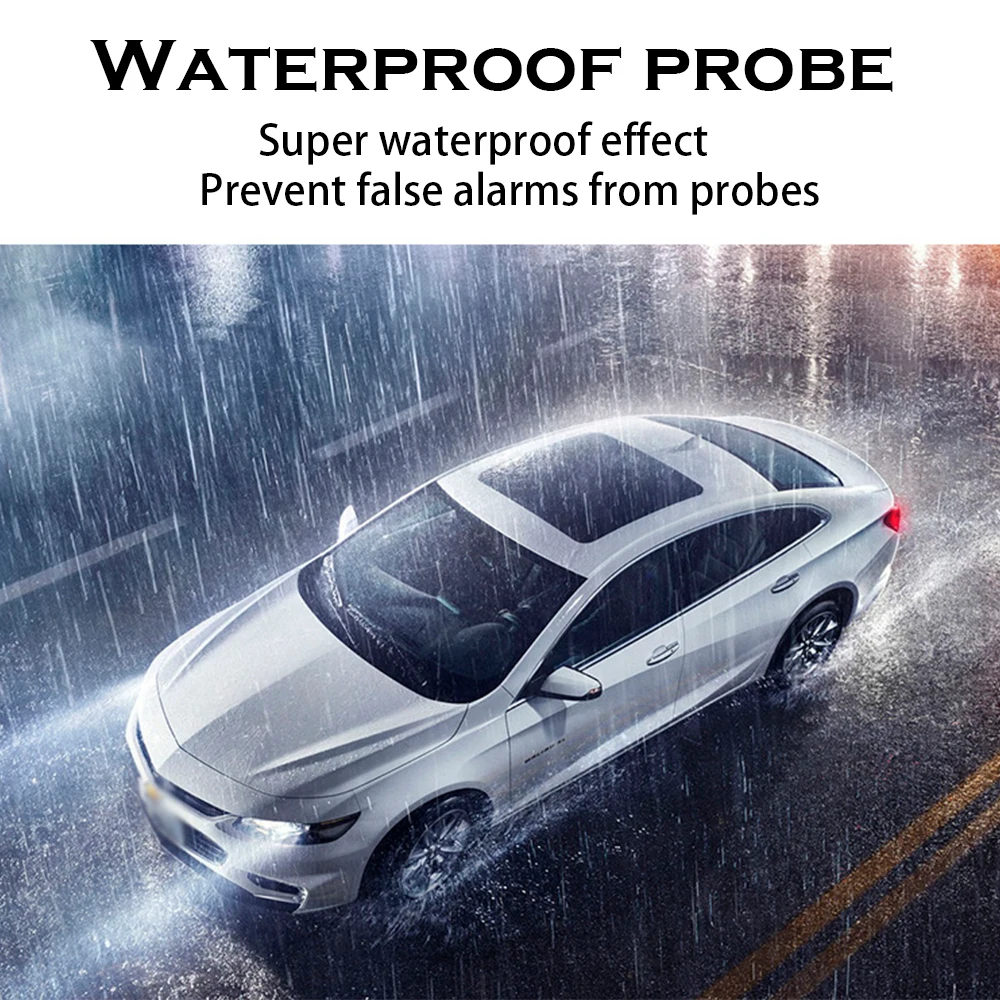
Not affected by the environment
Good waterproof performance
Rain does not affect the use
High temperature resistance without false alarm
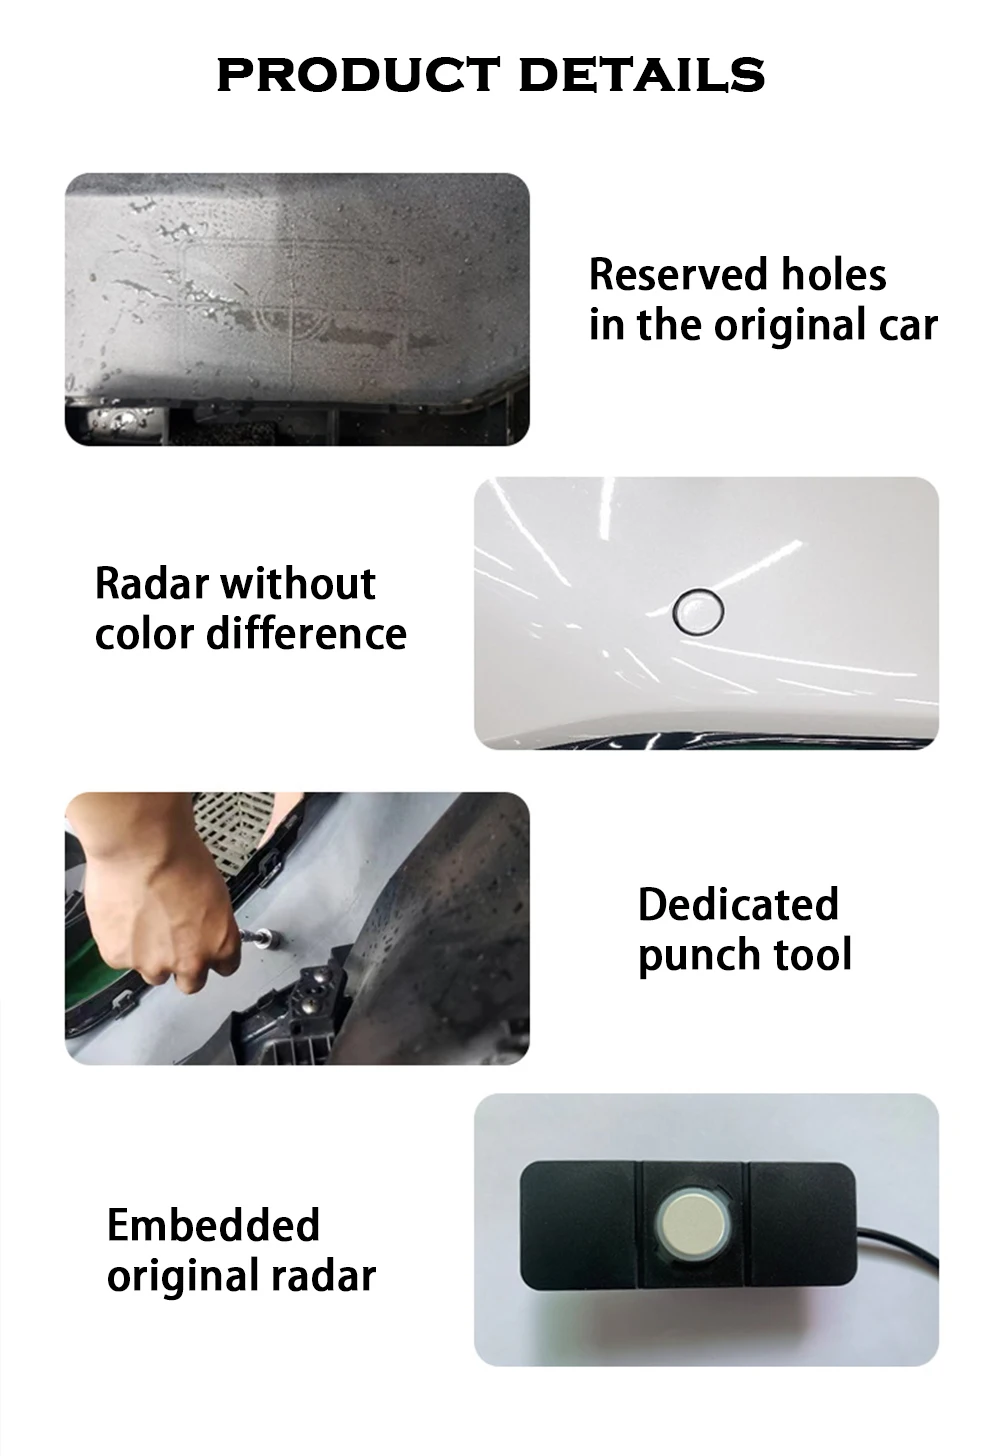
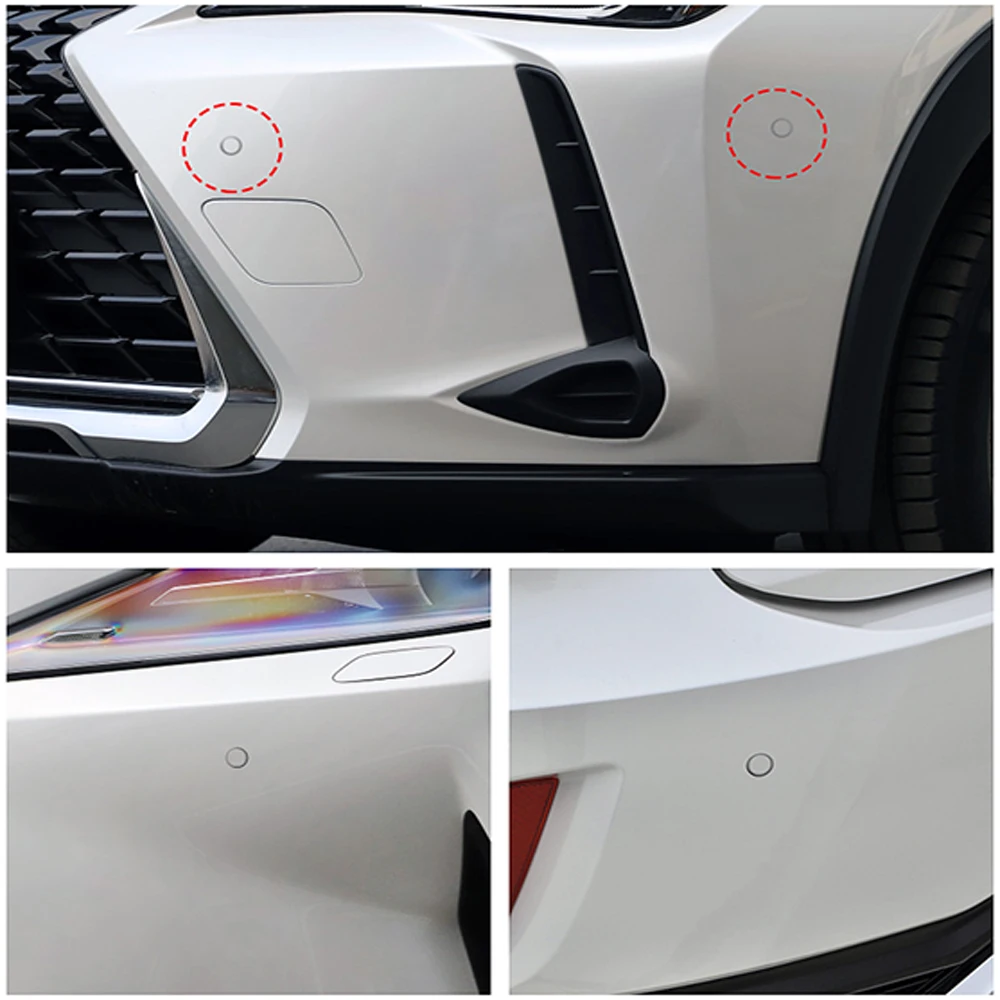
Original car micro-hole non-destructive installation
The original car reserved holes for installation to improve the driving safety factor of the car
(Some models are not reserved)
Hole position is smooth and without burrs Professional sleek punch artifact
The holes are smooth and beautiful without burrs
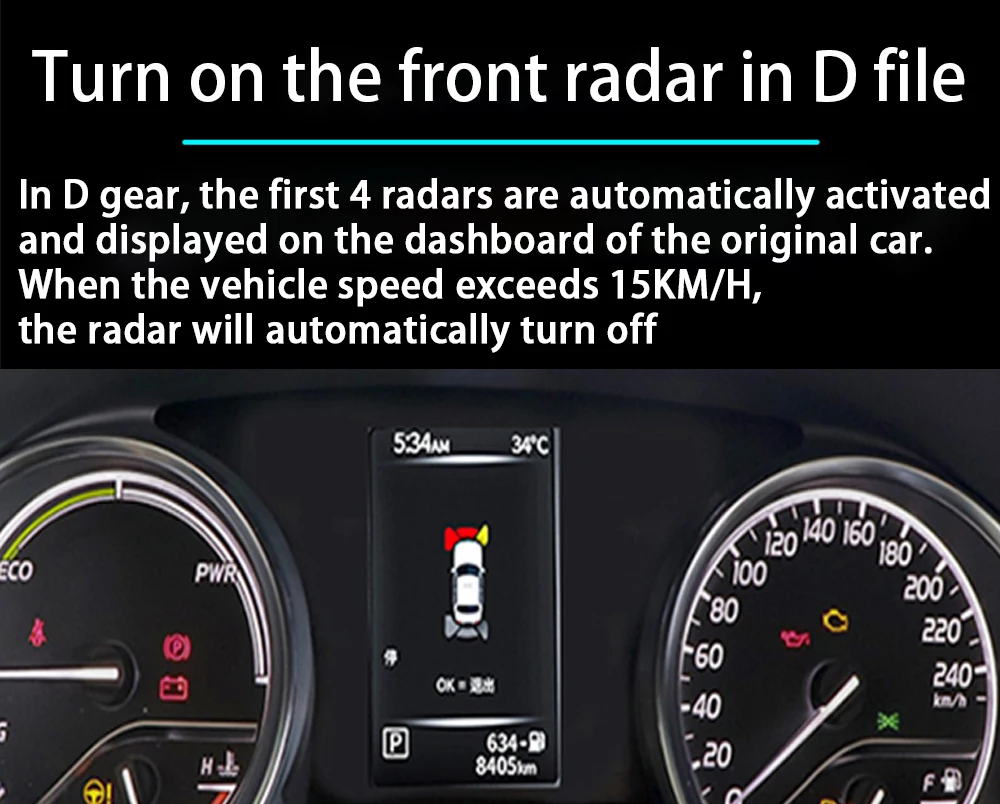
In D file
Front radar starts automatically
In D gear, the first 4 radars are automatically activated and displayed on the dashboard of the original car. When the vehicle speed exceeds 15KM/H, the radar will automatically turn off
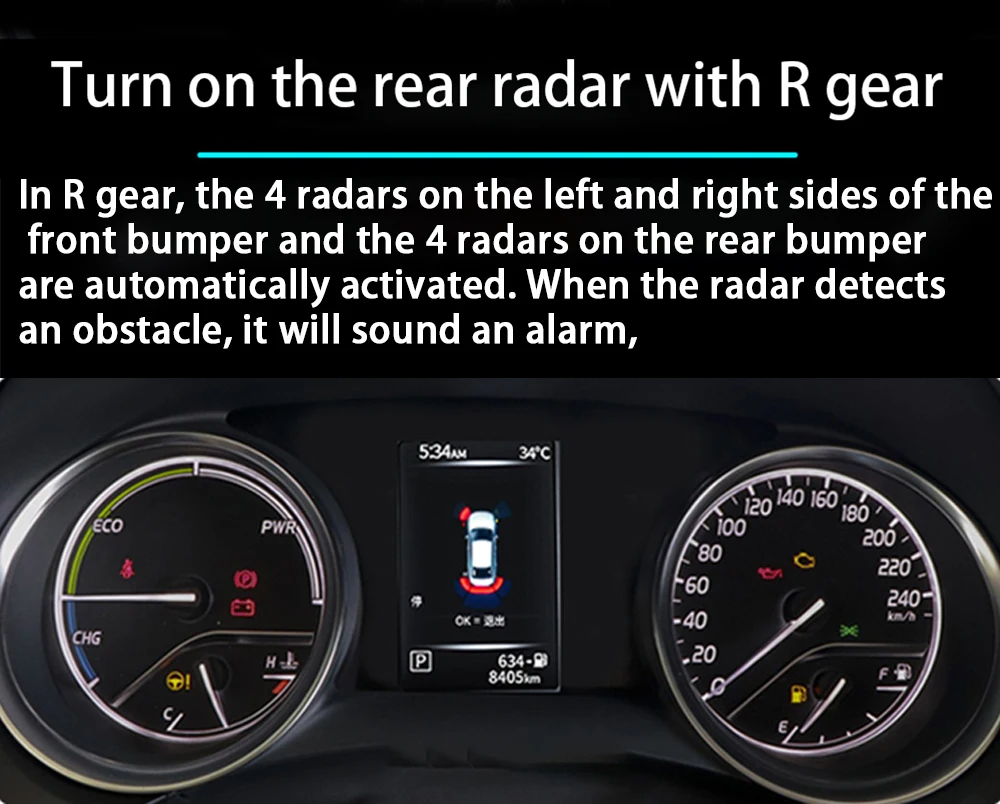
When R gear
Automatic start of front and rear radar
When in R gear, 4 radars on the left and right of the front bumper, and 4 radars on the rear bumper are automatically activated. When an obstacle is detected by the radar, an alarm will sound、
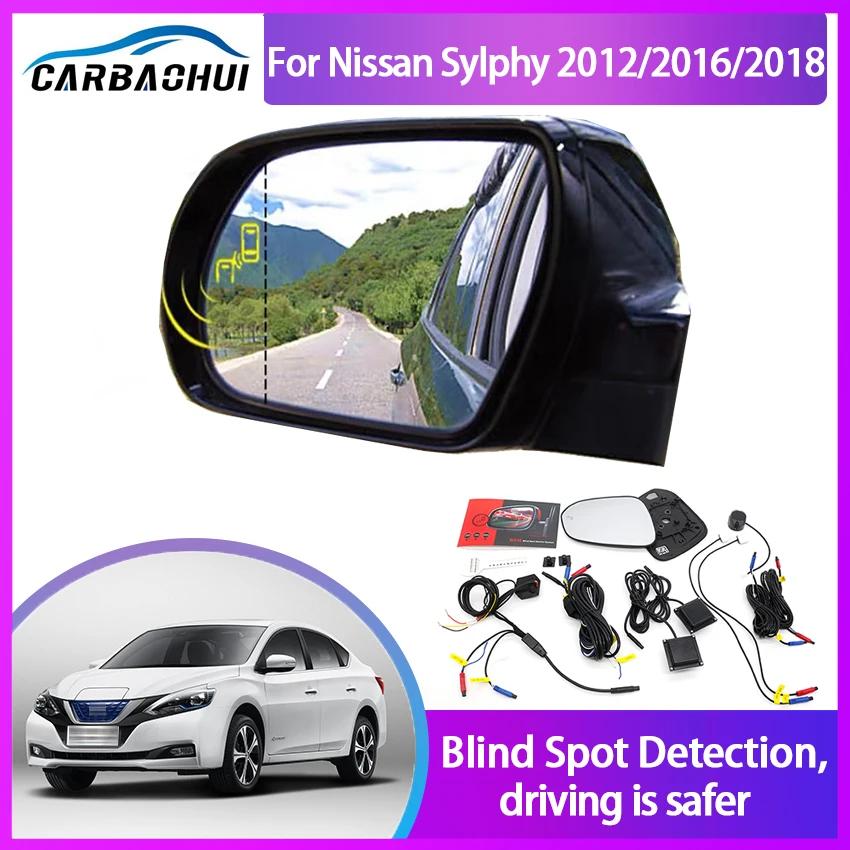
Effect after installation
Product configuration list
Different models have different configurations
1. Host
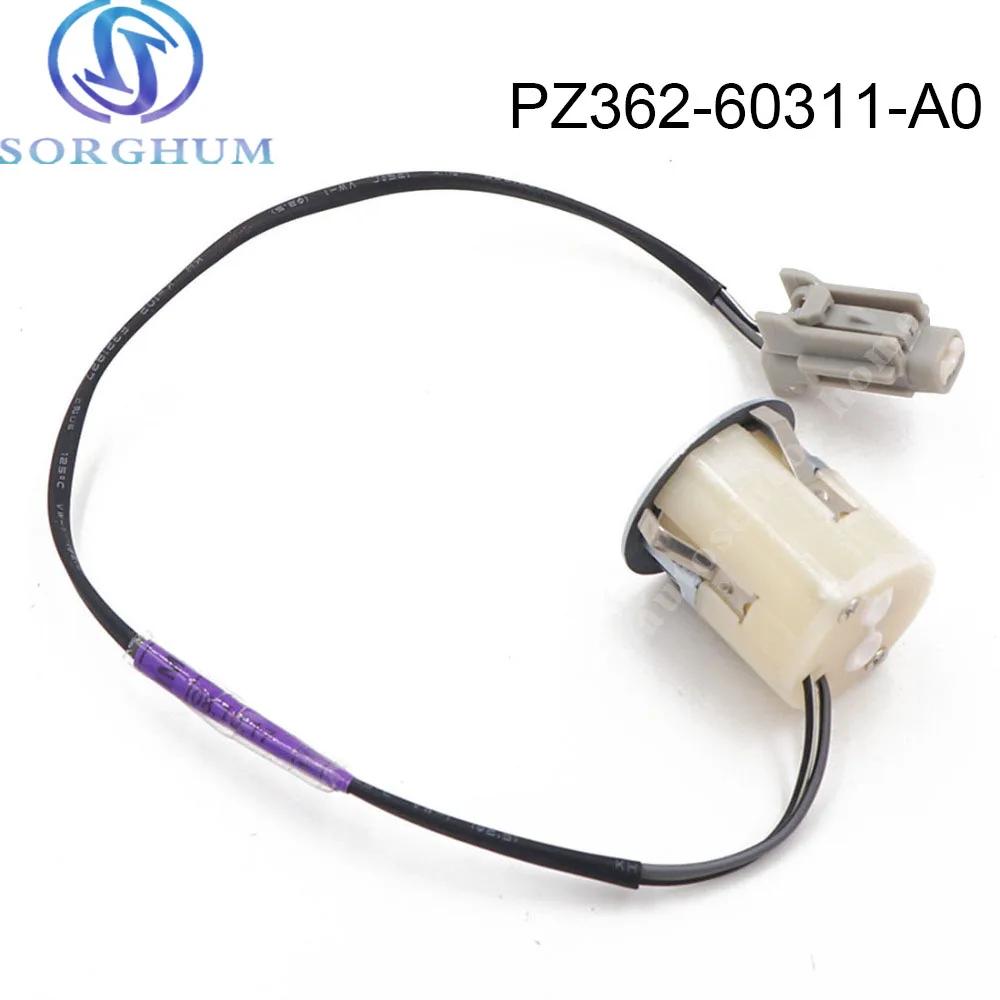
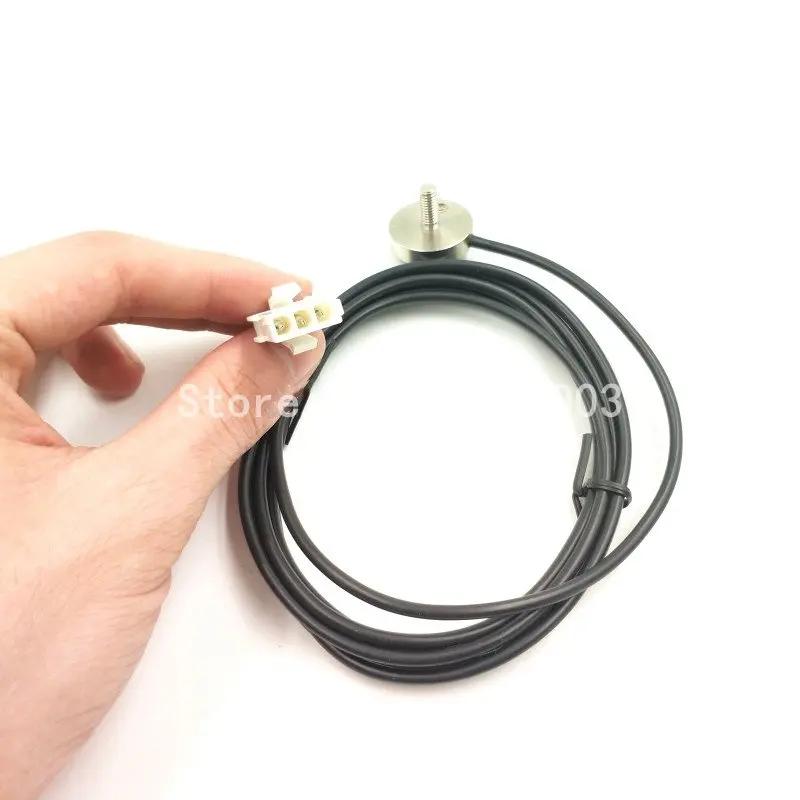
2. wiring harness
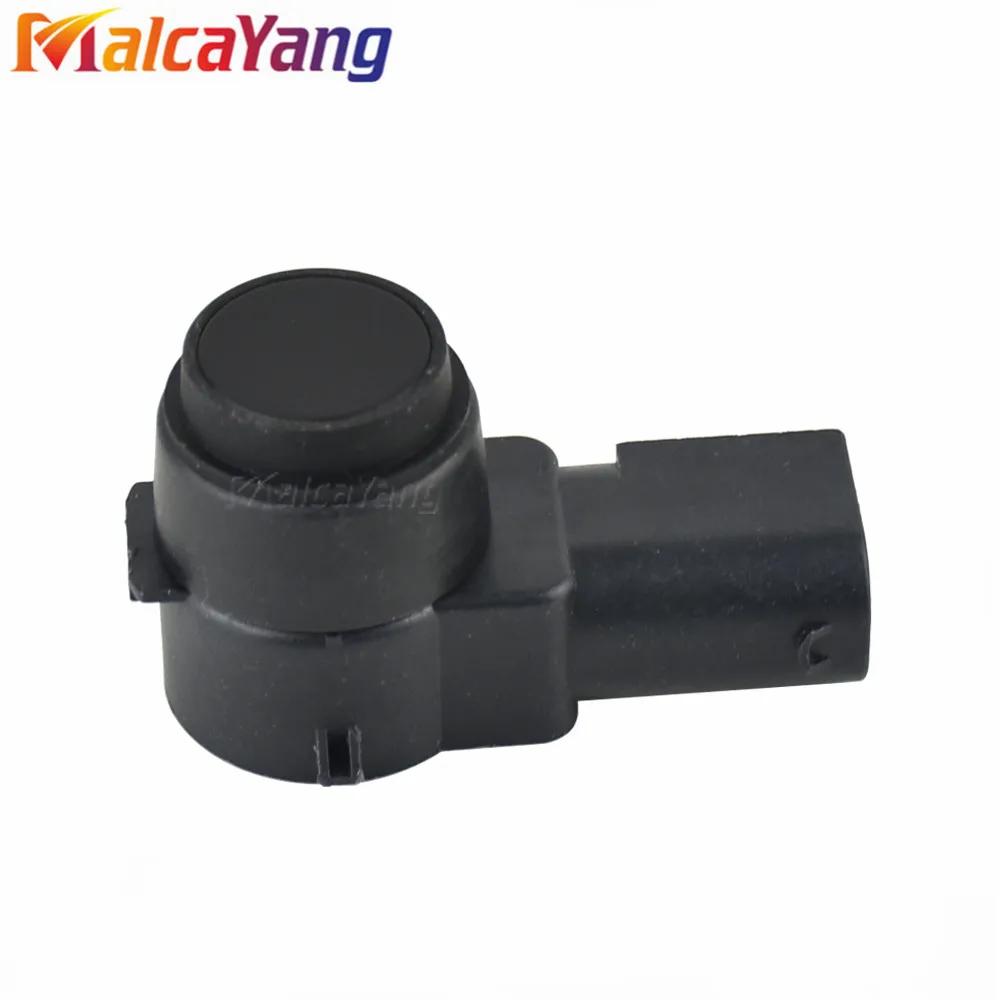
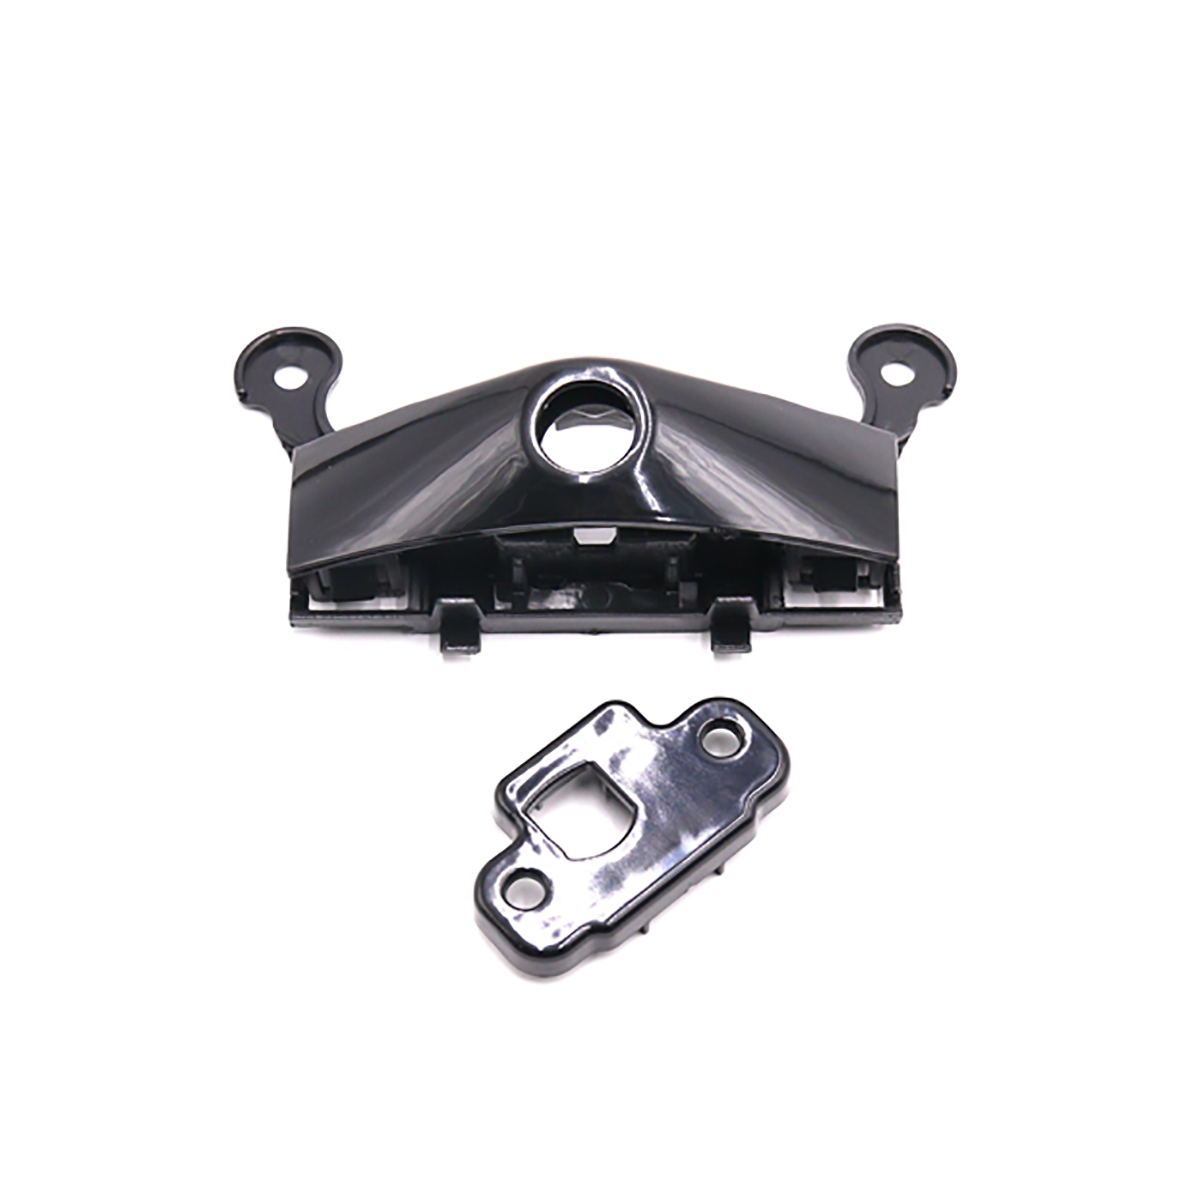
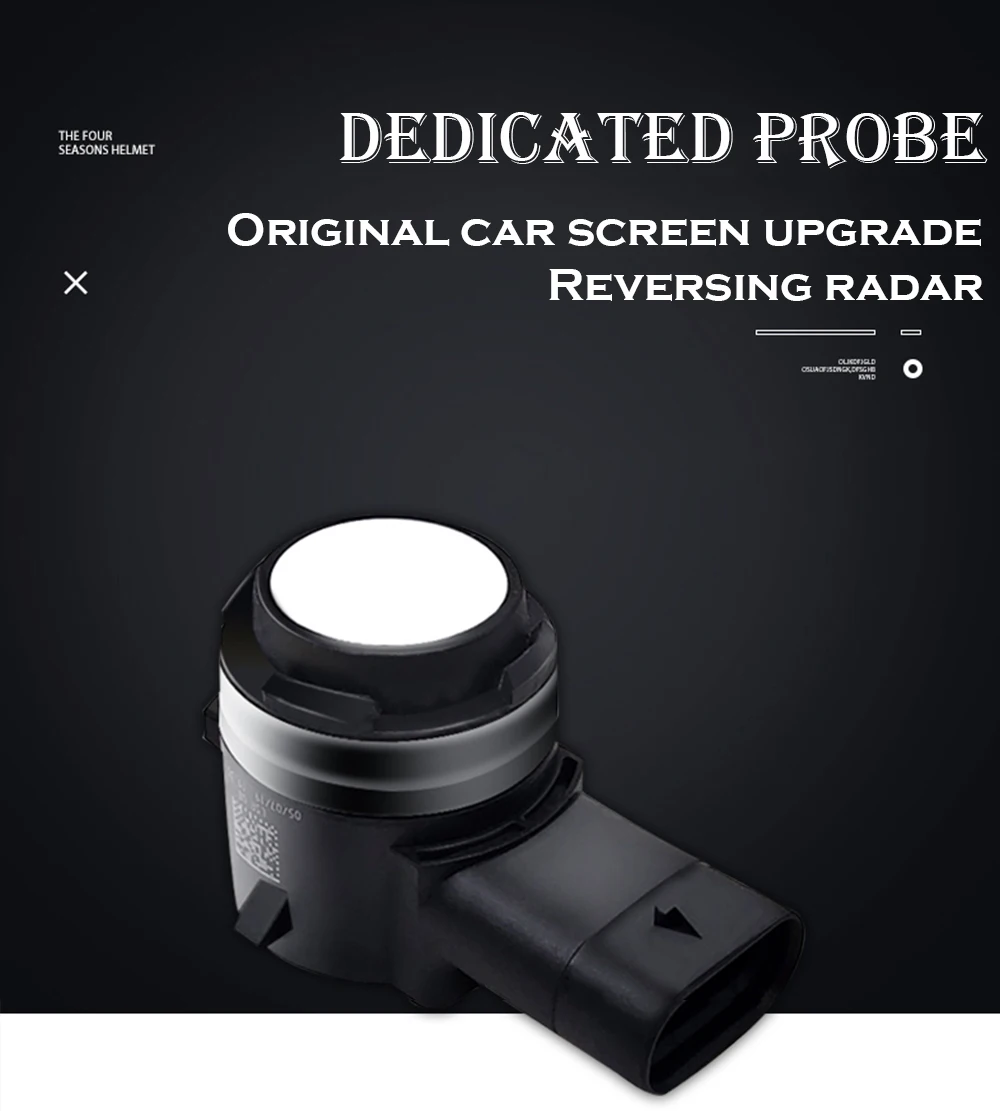
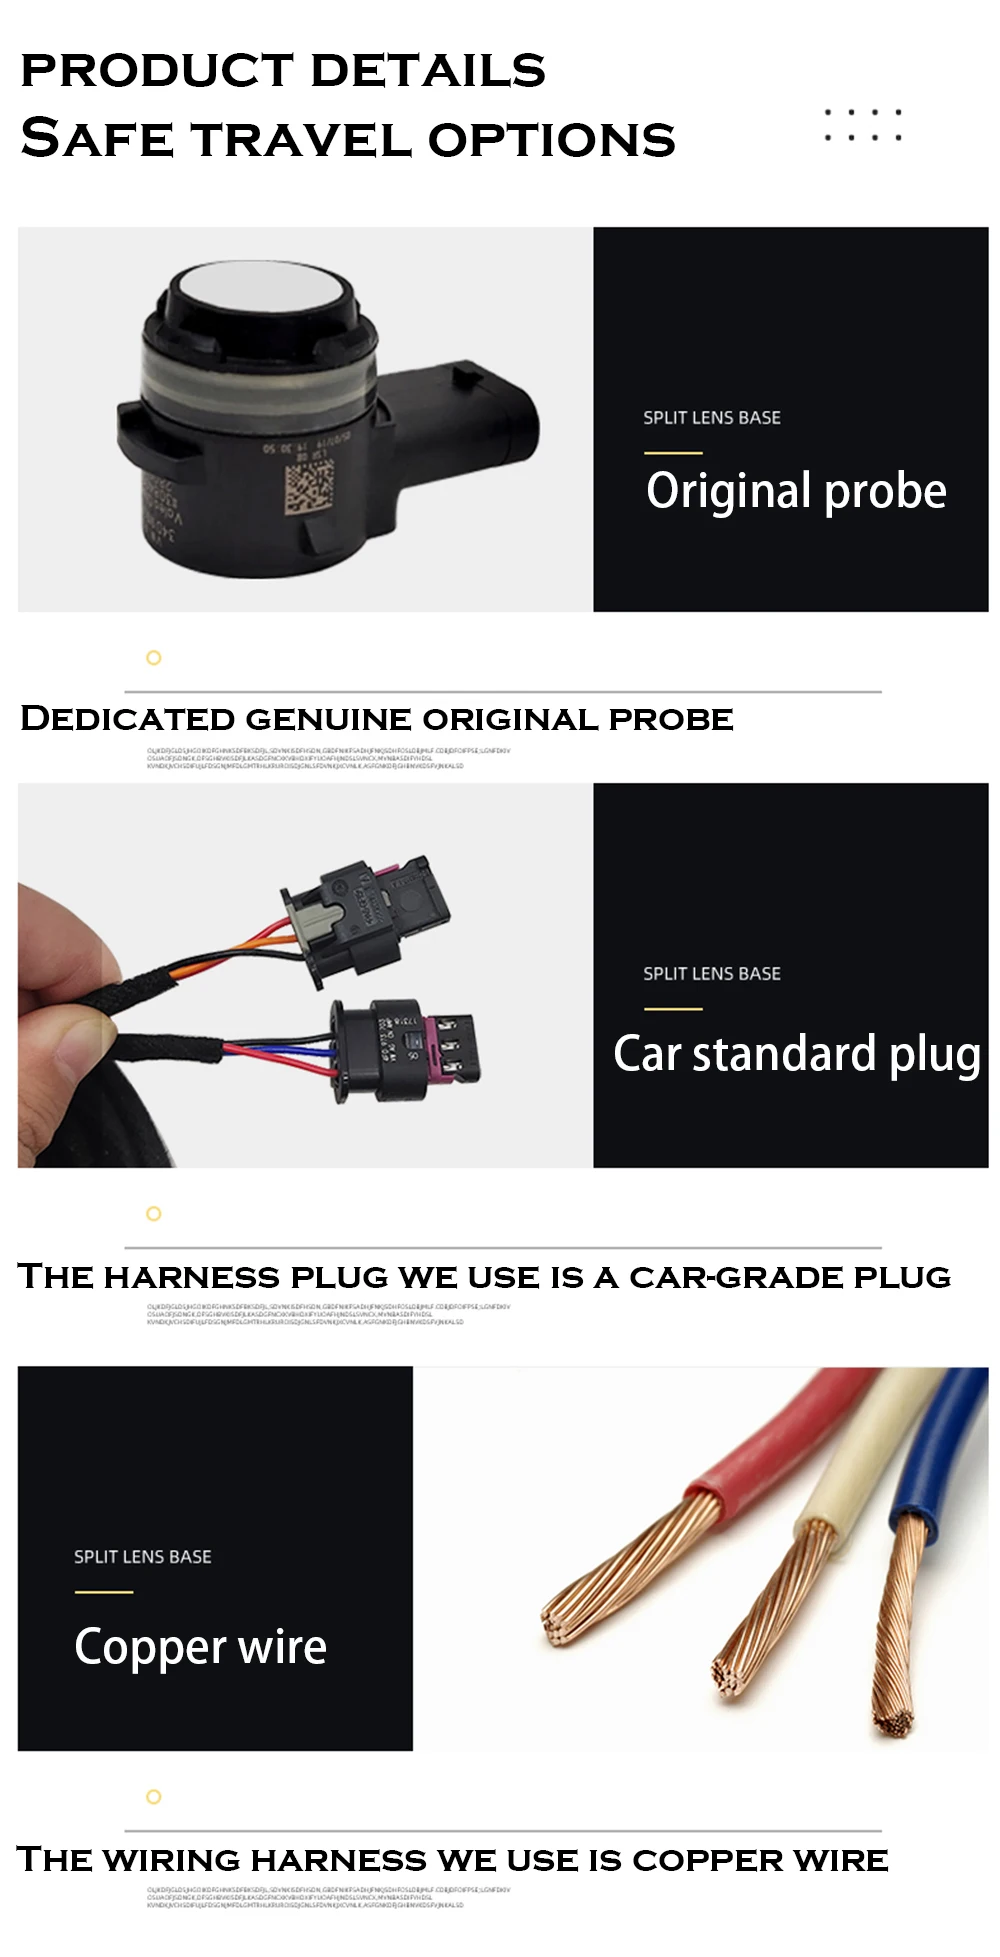
3. Special radar probe
4 Hole opener
5 .Adhesion promoter
6 speakers
7.Radar switch button
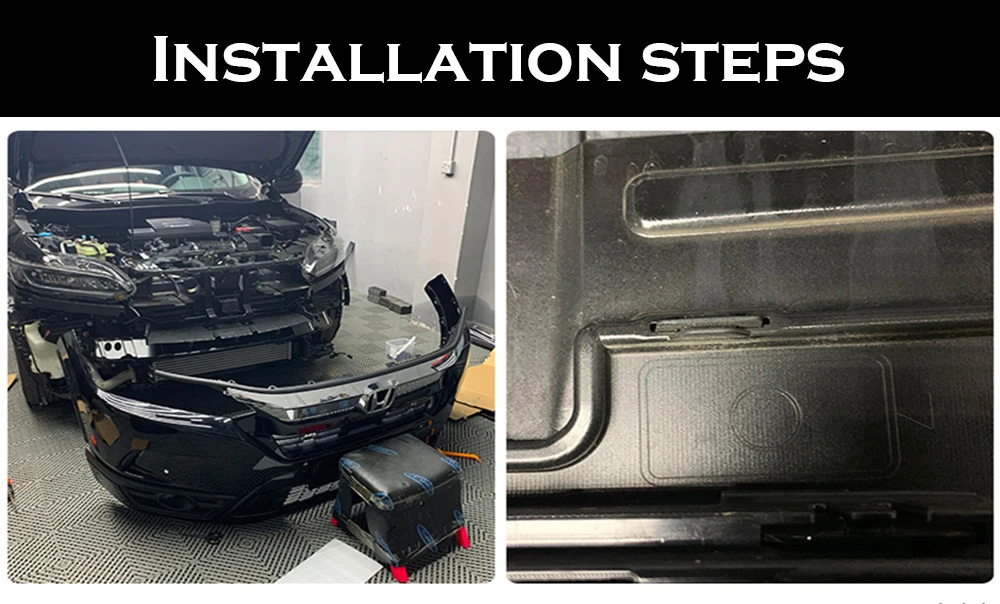
1. Whether the car has reserved holes, the front and rear
bumpers can be removed directly if there are reserved holes.
2. If there is no reserved hole, it is necessary to measure the hole
distance according to the model, and make the hole position.
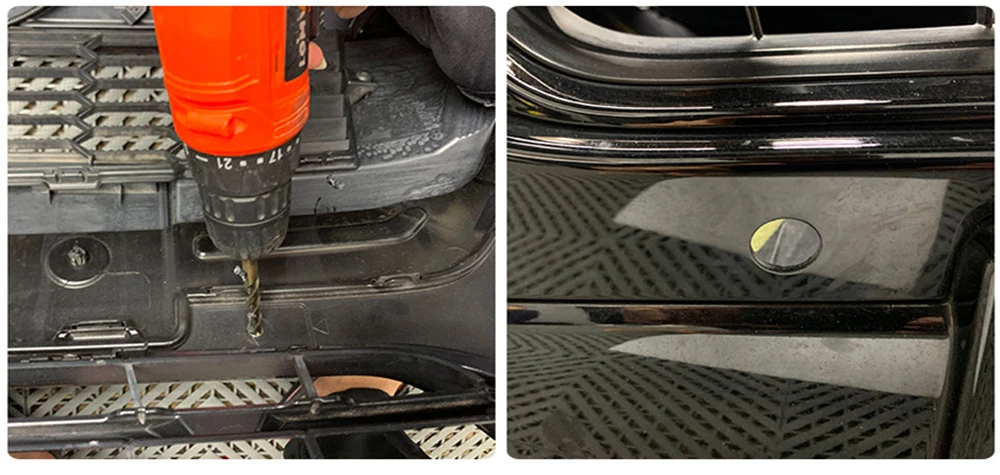
3 Punch a hole in the center of the reserved hole,
or punch a hole at the measurement position.
4. Use the provided hole opener to polish it smoothly
5. Fix the probe.
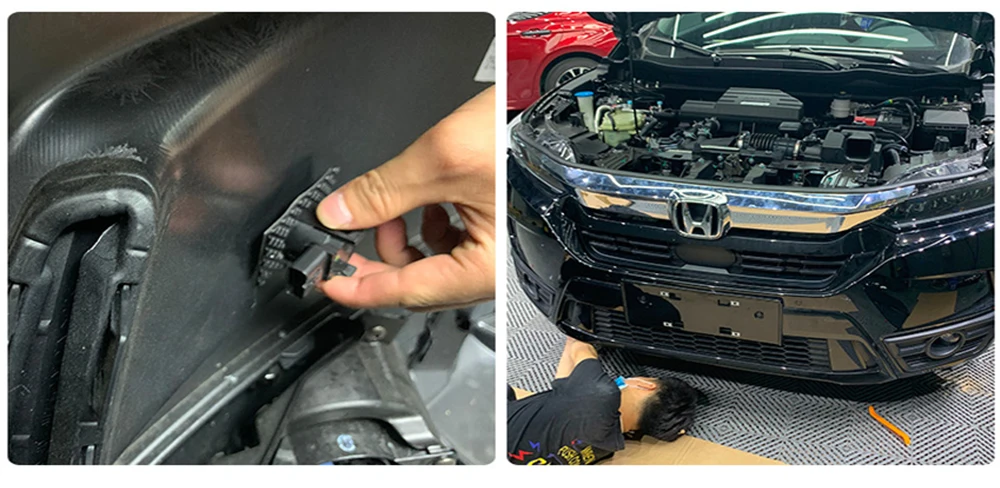
6. Connect the probe socket, arrange the wires,
and restore the bumper.
7. The rear bumper is treated the same,
and the radar probe is installed.
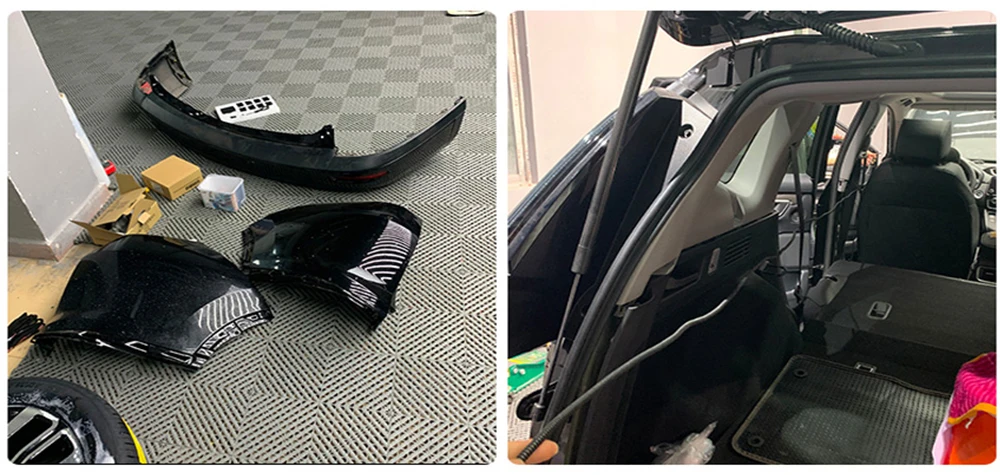
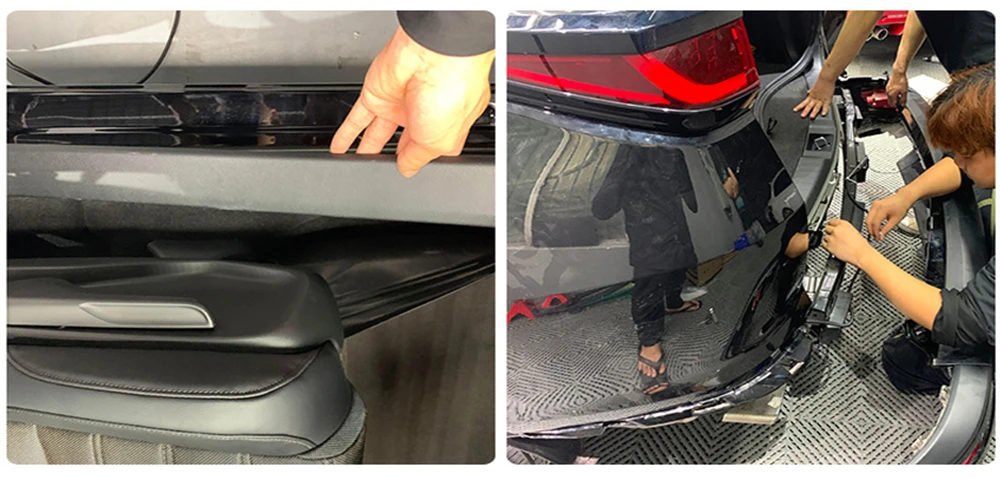
8. Pull the harness
9 Pull up the door frame rubber strip and the door sll,
prepare to hide the wiring hamess on the left.
10. Lay the line and restore the bumper
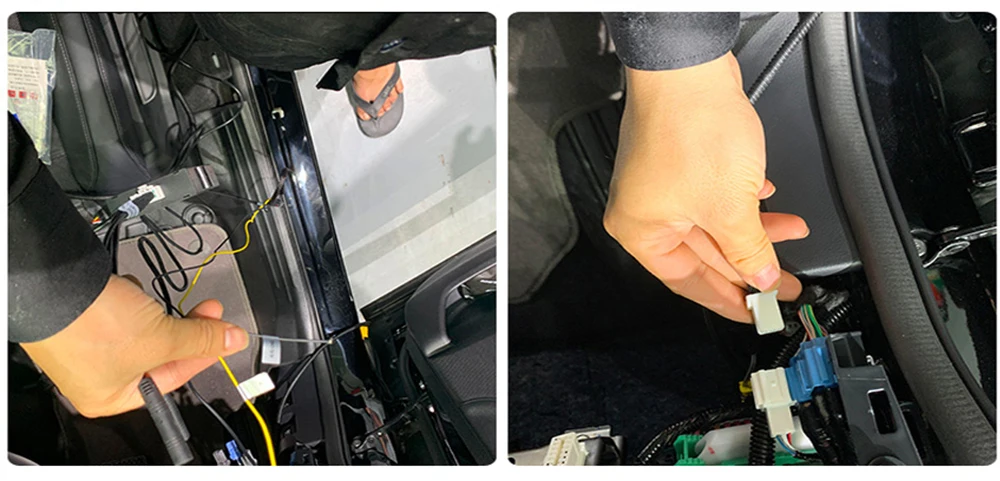
11. Connect the radar host
12. Insert the reserved plug of the original car
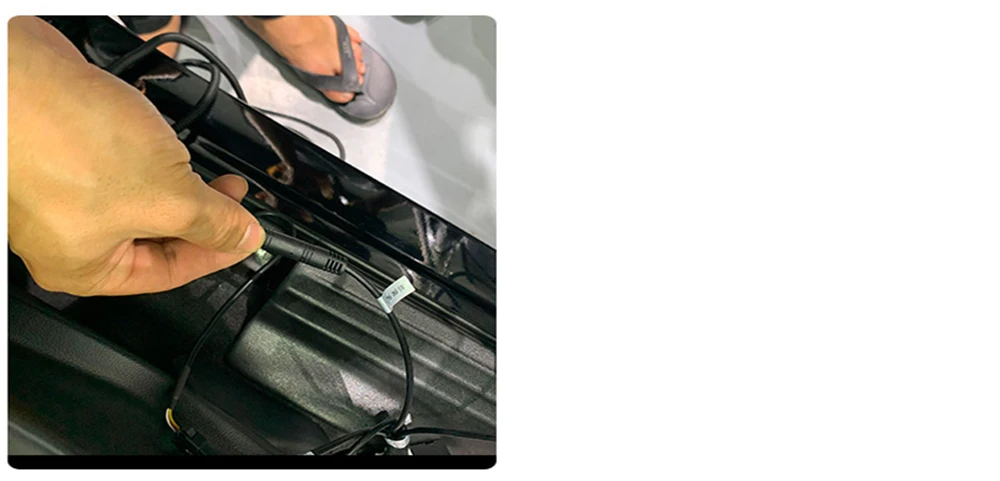
13. Restore the wiring harness and detect the radar function
After receiving the radar, you can first test whether the radar is sensitive or not, it does not rule out that it will be damaged during transportation.
During the installation, the bumper can not be restored first, and it can be tested after being installed on the car.
When the bumper is restored, it can avoid repeated disassembly of the bumper.
|
|
|
|
|


 배송기간
배송기간